You probably googled how to clean Cuisinart coffee grinder right after noticing your coffee tasting kinda… off, like stale but not exactly stale, just weird in a way you can’t quite explain. Yeah, that usually means your grinder’s been quietly collecting oils, dust, and old grounds like it’s building a tiny museum of past coffees. Happens to everyone, honestly.
And if you’ve ever opened it and thought “uhh… should it look like that?” — you’re not alone. Let’s fix that.
Why Cleaning Your Grinder Actually Matters (More Than You Think)
It’s easy to ignore. The grinder still works, right? Beans go in, powder comes out. But here’s the thing — coffee beans leave behind oils, and those oils don’t just chill politely. They oxidize, go rancid, and start messing with your flavor.
A slightly dirty grinder can make fresh beans taste old. A very dirty one? It’ll ruin even the expensive stuff you swore you’d savor.
A study published in food science journals has shown that coffee oils begin degrading within days when exposed to air. So yeah, that residue sitting in your grinder isn’t doing you any favors.
Signs your grinder needs cleaning:
- Coffee tastes bitter or “muddy” even with fresh beans
- Grounds come out uneven
- You notice a funky smell (kinda like old nuts, not great)
- Static and buildup inside the chamber
If any of that sounds familiar… yep, time to clean.
Types of Cuisinart Coffee Grinders (Quick Reality Check)
Before diving into how to clean Cuisinart coffee grinder properly, you gotta know which type you’re dealing with. Cuisinart mostly makes two kinds:
Blade Grinders
- Spin blades like a tiny blender
- Usually cheaper
- Faster but less consistent
Burr Grinders
- Crush beans between two burrs
- More precise
- Slightly more effort to clean
Cleaning methods overlap a bit, but not entirely. Don’t treat them exactly the same or you might regret it later.
What You’ll Need (Don’t Overthink This)
You don’t need a lab setup or anything fancy. Just gather a few basics:
- Soft brush (old toothbrush works fine tbh)
- Dry cloth or microfiber towel
- Mild dish soap
- Warm water
- Uncooked rice or grinder cleaning pellets
- Wooden toothpick or skewer (optional but helpful)
That’s it. No need to go full scientist mode here.
How to Clean Cuisinart Coffee Grinder (Blade Type)
Let’s start with the simpler one. Blade grinders are a bit chaotic but easy to deal with.
Step-by-Step Cleaning Process
- Unplug it (seriously, don’t skip this)
Sounds obvious but people forget, and spinning blades aren’t forgiving. - Remove loose grounds
Turn it upside down and tap gently. You’ll be surprised how much falls out, like… wow. - Add rice and grind it
Toss in about 2 tablespoons of uncooked white rice. Pulse it for 30–60 seconds.
The rice absorbs oils and scrubs the blades a bit. Not perfect, but works decently. - Dump the rice powder
It’ll look dusty and weird. That’s normal. - Wipe inside with a dry cloth
Use your brush or cloth to get into corners. Don’t use water yet. - Deep clean (occasionally)
If it’s really grimy, lightly dampen a cloth and wipe carefully. Avoid soaking anything.
Important Notes
- Never submerge the grinder in water
- Don’t use harsh chemicals
- Be gentle around the blade — it’s sharper than it looks
How to Clean Cuisinart Coffee Grinder (Burr Type)
Burr grinders need a bit more patience, but honestly, it’s not that bad once you get the hang of it.
Step-by-Step Cleaning Process
- Unplug and disassemble
Remove the hopper (bean container) and upper burr if it’s removable. Most Cuisinart models allow this. - Empty leftover beans and grounds
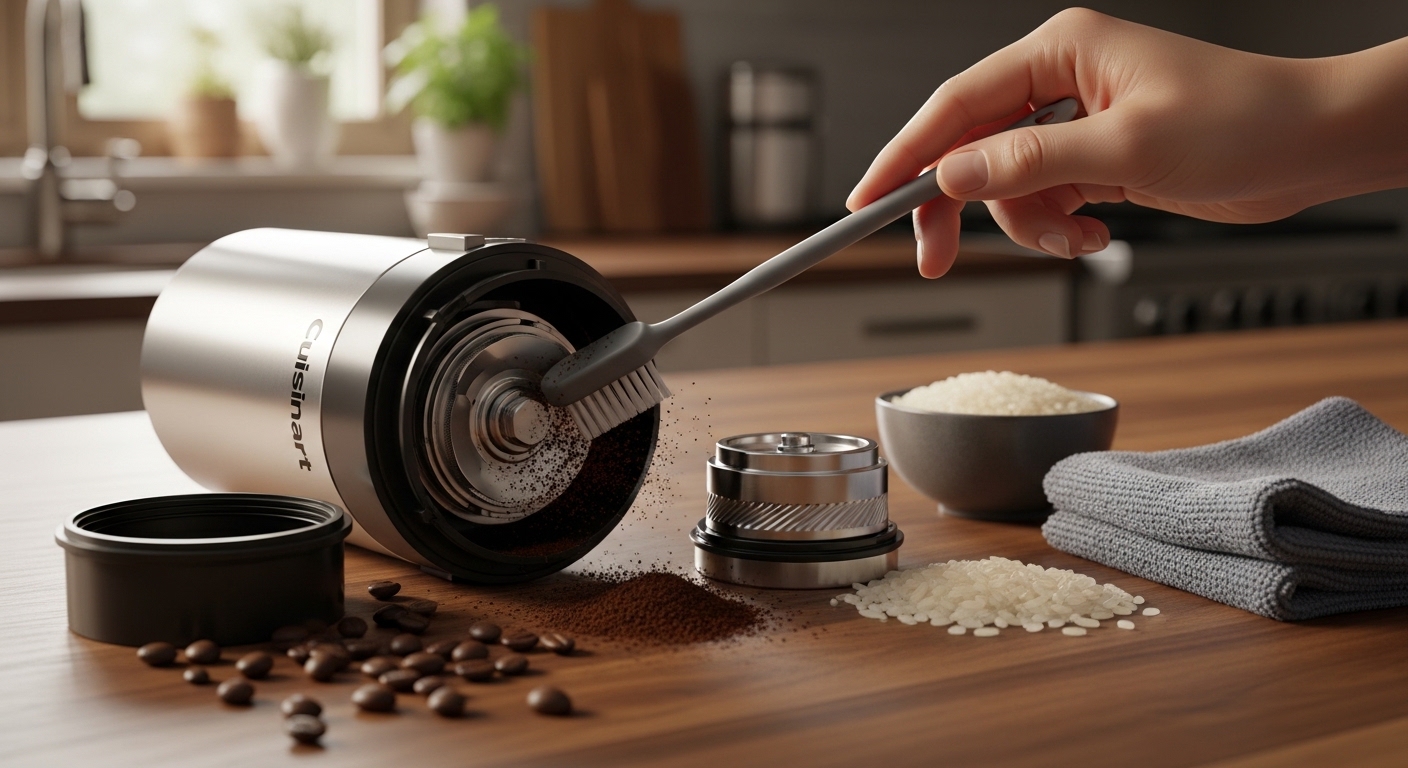
Shake it out gently. There’s always more hiding than you expect. - Use a brush to clean burrs
This part is oddly satisfying. Brush away all the stuck grounds and oils. - Run cleaning pellets or rice (optional)
Special grinder cleaning pellets are better than rice for burr grinders, but rice can work in a pinch. - Clean removable parts with water
Wash the hopper and lid with mild soap and warm water. Dry completely before reassembling. - Wipe interior carefully
Use a dry cloth or slightly damp one. Avoid moisture near motor parts. - Reassemble and test
Once everything’s dry, put it back together and run a small batch of beans to clear any residue.
Cleaning Frequency (Because Yes, It Matters)
You don’t need to clean it every day — that would be exhausting.
Here’s a realistic schedule:
| Cleaning Type | Frequency |
|---|---|
| Quick brush/wipe | Once a week |
| Deep clean | Every 2–4 weeks |
| Rice/pellet clean | Once a month |
If you use oily beans (like dark roasts), you might need to clean more often. Those things leave residue like nobody’s business.
Common Mistakes People Make (I’ve Done Some of These…)
Using Water Too Freely
Water + electronics = bad combo. Keep it minimal.
Ignoring the Burrs
People clean the outside and forget the burrs, which is… kinda the whole point.
Overusing Rice
Rice works, but doing it too often can dull burrs slightly over time. Don’t go overboard.
Not Drying Properly
Moisture inside your grinder can lead to mold. Yeah, not something you wanna think about while making coffee.
Alternative Cleaning Methods (When You’re Feeling Fancy)
If rice feels too DIY-ish, there are commercial cleaning pellets designed specifically for grinders. They’re made from food-safe materials and absorb oils more effectively.
Baristas often prefer these because:
- They’re less abrasive than rice
- They clean more evenly
- They don’t leave starchy residue
But honestly? If you’re just a regular coffee drinker, rice + brushing works fine.
A Quick Word on Coffee Flavor (Because This Is the Whole Point)
Here’s something kinda wild — even a thin layer of old coffee oil can drastically change how your coffee tastes.
Professional tasters can detect flavor differences caused by residue buildup after just a few days. You might not be that sensitive, but you’ll still notice something’s off.
Cleaning your grinder doesn’t just make it look nicer. It literally resets the flavor profile of your coffee.
Troubleshooting After Cleaning
Sometimes, after you clean your grinder, things feel… off.
Here’s what might be happening:
- Grinder sounds louder: Parts might not be seated properly
- Grind size changed: Burr alignment could be slightly off
- Weird smell persists: You might need another cleaning round
Don’t panic. Just go through the steps again slowly.
Final Thoughts on How to Clean Cuisinart Coffee Grinder
So yeah, figuring out how to clean Cuisinart coffee grinder isn’t exactly thrilling, but once you do it, you kinda notice the difference immediately. Coffee tastes cleaner, sharper, more like what it’s supposed to be instead of that dull, confused version you’d gotten used to.
And honestly, it’s one of those small habits that makes a bigger difference than you expect. Like changing bedsheets or cleaning your keyboard — annoying, but weirdly satisfying after.
If you’ve been putting it off, just do a quick clean today. Doesn’t have to be perfect. Even a half-decent cleanup is better than letting old coffee ghosts live in there forever.
And next time your coffee tastes off, you’ll know exactly where to look instead of blaming the beans like we all tend to do.